Here Is The Correct Way To Remove Ceiling Light Cover with Clips!
How to remove ceiling light cover with clips – The world still awaits its first everlasting light bulb that never gets damaged. Until then, however, we will have to replace bulbs whenever they stop working. To do that, you have to figure out how to get the light cover off properly. You can, of course, go through the light fixture’s manual and learn what to do.
However, sometimes the manual can make things seem more complicated. You may have gone over the light fixture’s manual quite a few times. Yet, you still did not get clear instructions regarding what to do. It is not just you, though; a lot of homeowners are just as confused as you on how to remove ceiling light cover with clips. What you need is simple, clear instructions on what to do.
Lucky for you, we are ready to help you with that. This step by step will help you learn how to remove ceiling lights with clips. Other than that, you will learn how to remove lights with no screws too.
You may want to do some remodeling or want to change the ceiling light cover. Maybe you want to replace the light bulb, or you have to clean the surface from the inside. Whatever you wish to do, first you have to remove the ceiling light cover. Now, you do not need to hire professionals to do the job for you. You can easily do this project on your own. The process is that simple.

How To Remove Ceiling Light Cover With Clips?
Step 1: Switch off the circuit breaker.
First, you have to turn off the circuit breaker that powers the light fixture you want to remove. Remember that it must be your first step. It is crucial for your safety because you will be working near the socket. If any of the tools touched the inside of the socket by any chance, it could harm you. This step will help prevent electrocution or any other accident that could occur.
Step 2: Wait till the light fixture cools down.
Next, you have to let the light fixture cool to the touch. That is because the light fixture cover could be burning from the heat of the bulb. So it would be hard for you to handle it at this point. If you recently switched on the bulb, wait and let it cool enough. Note that the waiting period can differ depending on the bulb type. Roughly, you will have to wait for about 5 to 10 minutes. Once the time is up, lightly touch the fixture and see if it is cool enough.
Step 3: Clear the working area.
Keep a rubber mat under the ceiling light fixture. Then you can place a ladder or stool over it. Putting on a rubber mat is going to offer some form of traction. It will restrict your ladder from sliding and you from slipping.
Step 4: Figure out which of the clips you have to pull back
Climb the ladder and observe the cover well. Your light fixture comes with cover clips. So obviously, it comes off through those clips.
Still, a lot of people find working with the cover clips complicated. That is because not all the light covers have adjustable ones. Now, that is why you have to figure out which one pulls back.
So, to find that out, you need to pull on each clip gently. Keep notice of which one pulls back. Of all the clips that keep the cover in place, only one is on a spring-loaded slider.
Step 5: Pull back on the clip
Did you manage to figure out which clip pulls back? If so, it is going to be less complicated from now on. Now you have to place a hand on the glass cover and pull back on the clip. Again, make sure to be as gentle as possible. You will notice how the spring-loaded clip pulls back a little. It will give you enough space to dip the rim of the fixture under the clip. You have to let the clip gently slide into where it should go.
Step 6: Pull away the cover from the other clips.
Now, this step will require some extra amount of pressure. However, You will be able to handle it. Do not give up now! Especially when you are just a few steps away! So try your best and pull the cover out. Once you do that, Give your light fixture a much-needed cleaning.
Step 7: Clean the light fixture
Now you can remove any debris that was sitting in the interior part of the light cover. You can grab a damp cloth and give it a proper clean. While you are at it, you can clean the light bulb too.
Remember that you have to be a little careful here. So unscrew the bulb gently. Then wipe the interior of the recessed area, and wipe down the bulb.
Step 8: Replace the bulb.
This step is, of course, optional. You do not have to replace the old bulb if it still works well. You can return it to its place after wiping it down with the cleaning cloth. However, what if the old bulb had burned out or gotten some other form of damage? If that is the case, replace the bulb with a new one. After that, you can place the light cover.
Now, make sure to pick a bulb that works for the situation. Check if it is dimmable by using a dimmer switch. Most people usually choose halogen. Other than that, the energy-efficient LED bulbs are a great choice too. Once you pick the bulb, fix it carefully into the bulb holder by screwing it into place.
Step 9 Test the new bulb.
Next, you have to check whether the new bulb works perfectly. To do that, turn the light switch back on.
Step 10: Replace the light cover.
Once you know that the new bulb is working fine, turn off the power. Then you can replace the light cover. Pull on the adjustable clip you identified earlier, that is, the spring-loaded one. Carefully slip the lid on the other pins. Then release the pulled back, spring-loaded clip. Do not forget to confirm that the light cover is secure. Voila! You did it! You can pat yourself on the back for your hard work.
What if the ceiling Light Cover Will Not Come Off?
Sometimes it is possible that the process gets difficult because of the clips. So if the light cover does not come off, use a lot of pressure when undoing the clips. You will see that you can undo the pins with a quick snap. It is possible to find them to be tight. However, that is okay. What you have to do is tug on the clip and make sure it comes loose.
You can use pressure on the pin for it to work. Also, remember to be patient when you pull the cover off. That is because the ceiling light cover might get stuck during the removal process. So take your time and apply enough pressure to remove the glass cover off of the ceiling light.
How To Remove Ceiling Light Cover No Screws? -How to Remove Ceiling Light Cover With Clips?
Step 1
There is no knob to turn for this type of glass cover. That is why you will need to use extra pressure to make rotating the lid easier. You have to hold the glass cover with both hands. (on opposite sides of each other).
Step 2
After that, you have to rotate the glass cover. So gently turn it counterclockwise.
Step 3
Once the glass cover is loose and unscrewed, gently lift the glass cover away from the ceiling. That is it! You can go ahead and clean it and replace the bulb if it is necessary.
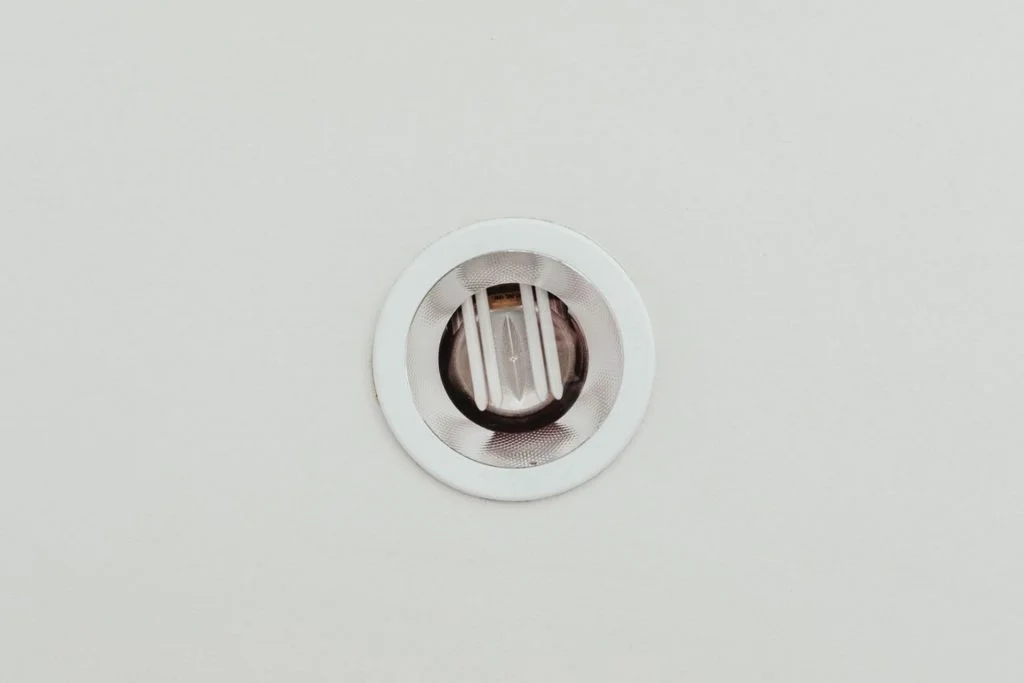
How To Remove Dome Light Cover?
Next, you can learn how to remove a dome light cover. Just in case a bulb inside a dome blows up, you will know what exactly to do.
Step 1
Take a careful look at the screws around the fixture. Notice where the dome light cover inserts into it. You will see that the screws have round heads. They usually have ridges on the outer edges and no slots for screwdrivers.
Step 2
Hold the dome light cover-up from the bottom using one hand. Then turn the screws counterclockwise using your fingers. Make sure to be gentle while rotating. You will notice that there are three securing screws. You have to loosen the screws. Be careful enough not to remove them from the fixture, though. Then, you can lower the light cover and replace the bulb. If it is necessary, feel free to use a pair of pliers to turn the screws initially.
Step 3
If you do not notice the securing screws, lift the dome light cover slightly. Turn it counterclockwise and gently detach it from the fixture.
The Bottom Line On How to Remove Ceiling Light Cover With Clips
Good work!
Look at that; it was not that complicated, now was it?
However, before you begin, remember that safety comes first! Even though you can easily remove the ceiling lights, you want to do it safely. Do not forget to place a rubber mat under the ladder to avoid slipping and falling.
Again, always make sure to turn off the circuit breaker to prevent any accidents. This guide simplified the instructions for you. However, you still have to follow the manufacturer’s guidance. The tips you learned from this article will help you better understand the light fixture manual.