Age Wood Fast! Learn The Best Ways To Make Wood Look Old
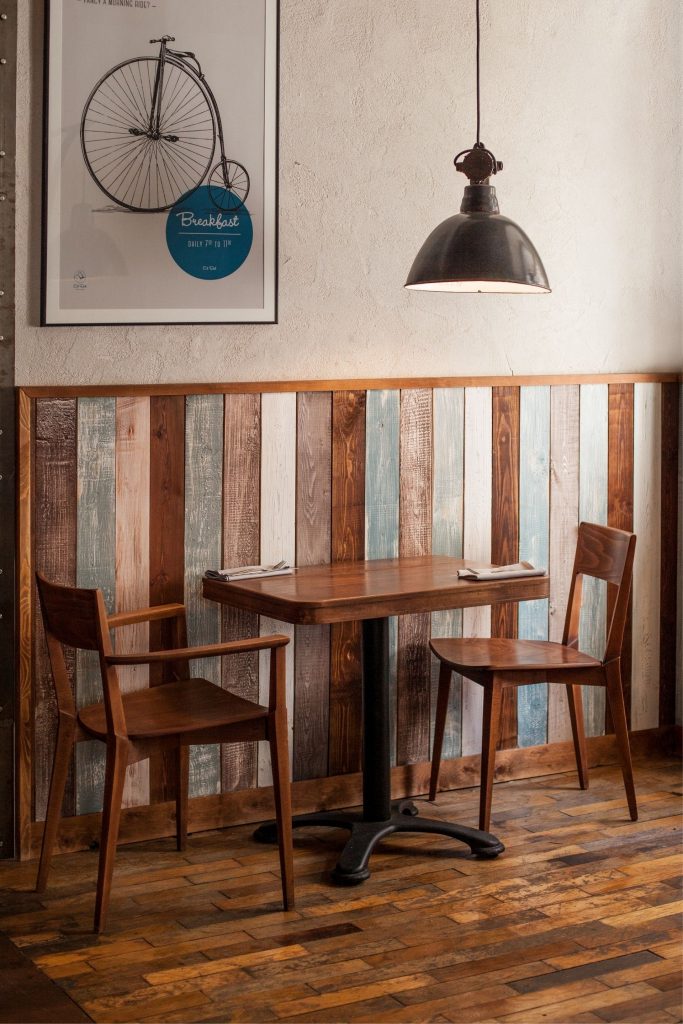
Time-worn wood is such an elegant aesthetic. Whether you use it for shelving, floors, or furniture, it instantly livens up the home. Old, aged wood has a unique patina, texture, and color that nothing else can compare. Somehow it gives off a luxurious feel and, at the same time, a homely feel too. That remarkable quality of old wood is why it is such a sought-after aesthetic. Sadly, old wood can be hard to find in its natural state. If purchased from reclaimed wood retailers, old wood can be costly. How to make wood look old?
So what you can do is transform new wood so that they look old. There are some simple methods you can follow to recreate this look. Before you get confused, no, it does not involve throwing your furniture outside for years, so they get old. There are other ways; more efficient and quick.
This guide will show you exactly how to make wood look old. You will get to find the knowledge you need to transform your wood and make it gorgeous. You will get to know all about surface distressing techniques and the supplies you need for the project.
Are you excited to give a makeover to your furniture? So without further ado, let us get into it.
How to make wood look old?
How can you make wood look old with vinegar?
1st step: Making the solution
You will need to find a container with a lid. Then toss a few pieces of steel wool in there. You can use any steel wool of your choice here. However, it would be more convenient if you use a product that works faster. If it is rougher, then it will take more time to work. So pick one that is not that rough. We would recommend 0000 steel wool, which will dissolve fast.
You can either choose white distilled vinegar or apple cider vinegar. White distilled vinegar will give a brownish tint. On the flip side, apple cider vinegar will impart a bluish-gray. Both these kinds of vinegar are pretty inexpensive. Remember that you do not need a costly brand for great results. Even generic types of vinegar should do the trick.
Now once you get the vinegar of choice, add it to the container. You have to add enough that will submerge the steel wool. Now, close the lid and shake it up thoroughly. After that, you have to let it sit for at least a day. You can achieve different levels of aging depending on the time you let it sit. The longer you leave it more worn-out it is going to look. Nonetheless, 24 hours will be enough to get the desired look.
Meanwhile, you can get the wooden surface ready for the solution. Dirt or grime on the surface can create a patchy effect in your weathering. Also, blotchy parts may not weather consistently. So to ensure the best results, you have to clean your wood. You can use a clean wet cloth for this.
2nd Step: Brush it On
After 24 hours, you have to shake up the mixture thoroughly. Then take a chip brush and apply it on heavily saturating the surface of the wooden piece. Wiping it on will not be enough because it does not get many solutions on the wood that way. So brushing it on is the best way.
3rd Step : Wait and Watch
Now you have done your part. It is time to let the solution do its part. After a while, you will be able to notice the solution dry and age the wooden surface. It will not take much time, so eyeball it carefully. Trust us; it will work right before your eyes like magic. You will see the color of wood darken in a matter of minutes. Then once it reaches the color you like, you can wipe the solution off. Doing so will stop the process of aging. Or else you can let it run its course and dry on its own.
How easy was that?
The best part is that there is nothing to worry about it rubbing off or wearing out. The solution will age the wood naturally.
How To Make New Wood Look Old With Baking Soda And Vinegar?
If you plan to purchase a wooden piece you want to transform, then pick one with tannins. That is because the makeover will look more noticeable in wood that has tannins. You see, baking soda reacts chemically with tannins, which are acidic compounds found in plants. Some wood varieties have higher amounts of tannins than others, though. Some examples are cedar, redwood, red oak, pine, and mahogany. Usually, woods that are harder and darker in color contain more tannins.
You can undoubtedly age pristine, freshly-cut wood with baking soda. However, what if you want to make use of imperfect wood you already have around? Well, here is a great trick for you. Turn the flaws of the surface into an eye-catching aesthetic. You can use worn-out, damaged, or otherwise imperfect wood here. The aging process will highlight the wood’s imperfections and give a more authentic look.
If you want to “rough up” pristine wood, there is an easy way to do that. You can beat it up with sharp objects. For example, you can use a bag full of screws or even a hammer. You can also drag the pointed ends of tools across the surface.
Now, what if the wood you want to age has got paint? What you have to do is sand the top layer. That way, it exposes the untreated wood below. However, if the surface has multiple layers of paint, you may need to use a chemical stripper.
Next, you have to lay the wood on sawhorses in a sunny spot. Suppose you are aging one or several individual boards. In this case, set up two sawhorses to lay the wood on top of them. However, if the wooden piece you are working on will not rest on sawhorses, use a drop cloth instead.
If you want to save time, here is what you can do; Expose the wood to direct sunlight. It will help speed up the baking soda aging process. It will still work without sunlight regardless. However, the baking soda application will take a while to dry. So you will probably need to reapply the solution a few more times to achieve the look you like.
Also, if you are planning to age both sides of a board, finish aging one side first. After that, turn it over and do the other side.
Now it is time to prepare the solution.
You have to add 1 part baking soda to 1 part water. You can use a large bowl to mix the solution. Stir the two ingredients thoroughly using a spoon. Mix well until the paste gets to a consistency of medium thickness. Make sure it is thick enough for you to apply with a paintbrush.
You can, of course, change up the measurements according to the number of pieces you are aging. For example, if you are aging several small boards, you can start with 240 ml of water and 240 g of baking soda.
Once the mixture is ready, apply a thick layer of it using a paintbrush. Remember to paint it following the direction of the wood grain. Paint on a thick layer of paste to cover the entire surface well.
If the consistency of the paste is too thick to paint on, add some more water. In case you find it too runny, you can add some more baking soda. It will help you get the right consistency you want.
Next, you have to let the coated wood sit in the sun. You will have to leave it for at least six hours, for the best results leave it all day. During this time, the baking soda will leach the tannins from the wood. If you go for a long time, the transformation will be more noticeable.
What if you do not have access to sunlight or have the patience to wait for so long?
What you need is white vinegar or apple cider vinegar to speed up the aging process.
Pour some into a spray bottle. Then spray the surface of the wooden piece with vinegar after you have applied the baking soda paste. You will notice some foaming when you apply the vinegar to the baking soda. Leave it for about 10 minutes. Then move on to the removal process, which is the same whether you use vinegar or not.
Note that adding vinegar will speed up the process. However, you will have to repeat the process a couple more times. That is the way to get the same results as you would with just baking soda.
Now you have to clean the surface of the wood with a wire scrub brush. Make sure to scrub hard enough to wipe away the baking soda paste. Also, press even more, to rough up the wood and add to the aged look.
You can wipe following the direction of the wood grain. However, if you want to add more character, you do not follow the wood grain direction. If you use only baking soda and let the surface dry for 6 hours, the paste will be crumbly. However, if you added vinegar and only waited 10 minutes, it would be damp and pasty. Either way, scrub it off with the wire brush in the same manner regardless.
After that, clean the wood using a wet cloth. Alternatively, you can rinse the surface with a horse. However, it will take much longer to dry. So if you want to quicken the drying process, use a damp piece of cloth instead. Remember to wipe down the surface in the direction of the grain. At this point, you will notice a darker reddish coloring soak through onto the cloth. That red tint is from the tannings. Keep rinsing to remove all traces of the baking soda paste.
Once you have cleaned the wood, you can rub the surface dry. Grab a clean, dry towel and wipe with the grain of the wood. Try to remove as much moisture as possible. After
that, let it dry completely.
At this point, you can see the full extent of the aging accomplished by the baking soda paste.
You can leave it at that if you are happy with the look.
However, if you are not satisfied with the color, repeat the process to age the wood further. In this case, you can apply another coat of baking soda paste. Follow the same steps to make the paste and scrub, wipe, and dry.
Go ahead and repeat the steps as many times as you wish. Every time you put on baking soda, it will leach out more tannins. It will give the wood more of a weathered look.
Next, you can apply a stain if desired. This step is optional. It will give the wooden piece an aged-but-finished look. Make sure to get a tint that complements the color you achieved through the aging process. Paint it on using a paintbrush, going with the grain. You can either apply one coat or multiple, depending on your preferences. However, always remember to let the stain dry completely between coats. Immediately after application, wipe down using a damp towel to remove any excess paint. Now, remember that this step is not necessary if you prefer a natural-aged look.
How To Make Wood Look Old With White Paint ?
Here are the tools and materials you are going to need:
- Sanding blocks, 150-grit and 220-grit
- Power sander (optional)
- Paintbrush
- Painter’s tape
- Clean towel
- Wood stain or brown paint
- Matte paint, chalk paint, or milk paint
Prepare the Furniture
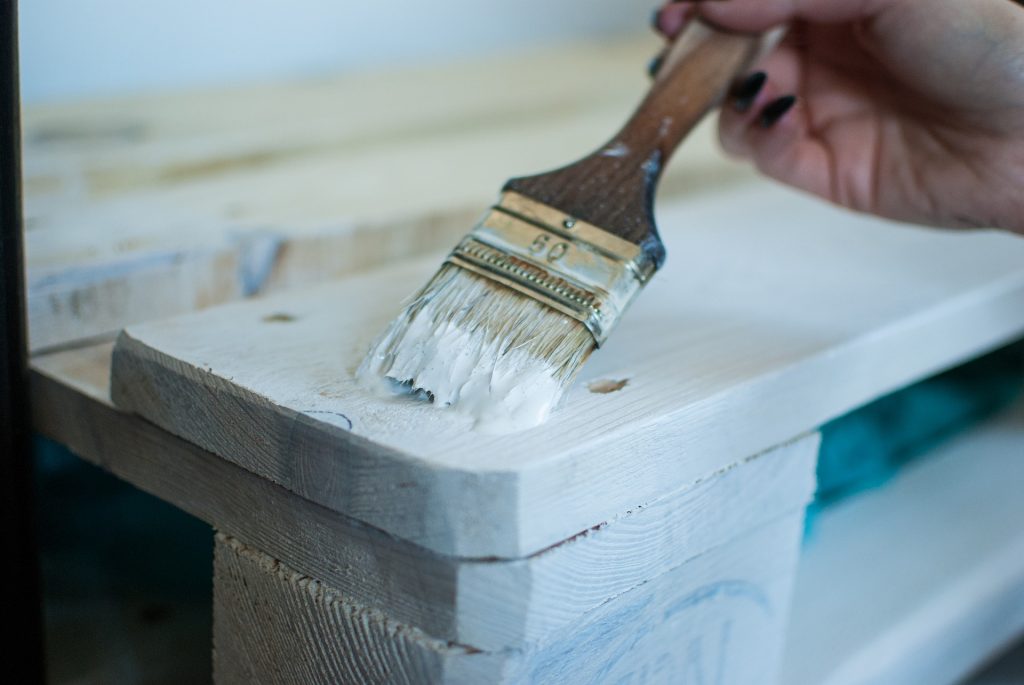
First, remove all hardware and mask any areas you do not want to paint using painter’s tape. Clean the piece to remove any dust. Make sure that the surface is dry before you start sanding.
Sand the Existing Finish
Sand the entire surface lightly using a 150-grit sanding block. It will remove any sheen and help the paint stick.
Next, remove old paint in areas that would naturally get damaged—for example, high points and edges. Keep sanding using a sand block till the bare surface of the wood shows. That way, the coloring agent can penetrate. Now, if you want to make the process faster, you can use a powder sander instead.
Color the Bare Wood
Once the sanding process is complete, apply wood stain to low spots and areas exposed to wood. It will work as a coloring agent. You can even use dark paint as a substitute for wood stain. If you are using dark paint, remember to thin it down with a little bit of water. The best method to apply the color is to use a clean cloth. Wipe away any excess as well.
Also, do not worry about color overlapping onto surrounding paint. After all, the next layer of paint will cover it anyway.
Apply the Main Color
Next, layer the surface with a coat of paint. Remember that the thinner the layer, the easier the next steps will be. You can choose any colorant of your choice. However, if you do not want to apply primer, then pick a matte-finish coloring. If you decide to use chalk or milk paint, remember to seal the work with a wax finish.
Remember to let the first coat dry for a day. After that, you can proceed to the next step.
Apply a Second Coat
Applying a second coat of paint will make the outcome look more natural. So do not skip this step. Also, suppose you are working with a piece of unpainted wood furniture. Then you can use a different color for your second coat. That way, more layers will show through when you age the wood.
Sand and Buff
Next, sand the edges of the surface so that the dark areas start to peek through. You can use a 150-grit sanding block for this. Remember to work slowly and carefully. While you are working, take a step back from time to time to evaluate the look.
Then, grab a 220-grit sanding block. Then lightly sand to remove more of the top layer of paint around the sides. This step is going to show the original finish.
Finally, soak a rag in a coloring agent and apply it to the edges. Immediately after that, wipe away any excess. Next, you can lightly buff more color into the matte paint throughout the piece. It will make the outcome look even more aged and weathered.
Add Finishing Touches
Now you are almost done. As the last step, grab a 220-grit sanding block and very lightly sand the surface.
How Can You Make Wood Look Old With Vaseline?
You are going to need:
- Vaseline
- Paint
- Paintbrush
- Clean Rag
- Cotton swabs (optional)
Step 1: Apply Vaseline to the areas you want to look distressed.
Vaseline will stop paint from soaking and sticking to the surface of the wood. So, the areas where you add a layer of Vaseline will turn out looking weathered. Apply Vaseline to the wood using your bare fingers. However, if there are any cracks, you will have to protect your hands. So, in this case, paint on Vaseline using a cotton swab instead.
To mimic a realistic worn-out look, add vaseline on the edges and corners of the wood. These particular areas naturally get worn out and damaged most noticeably.
Step 2: Apply the paint.
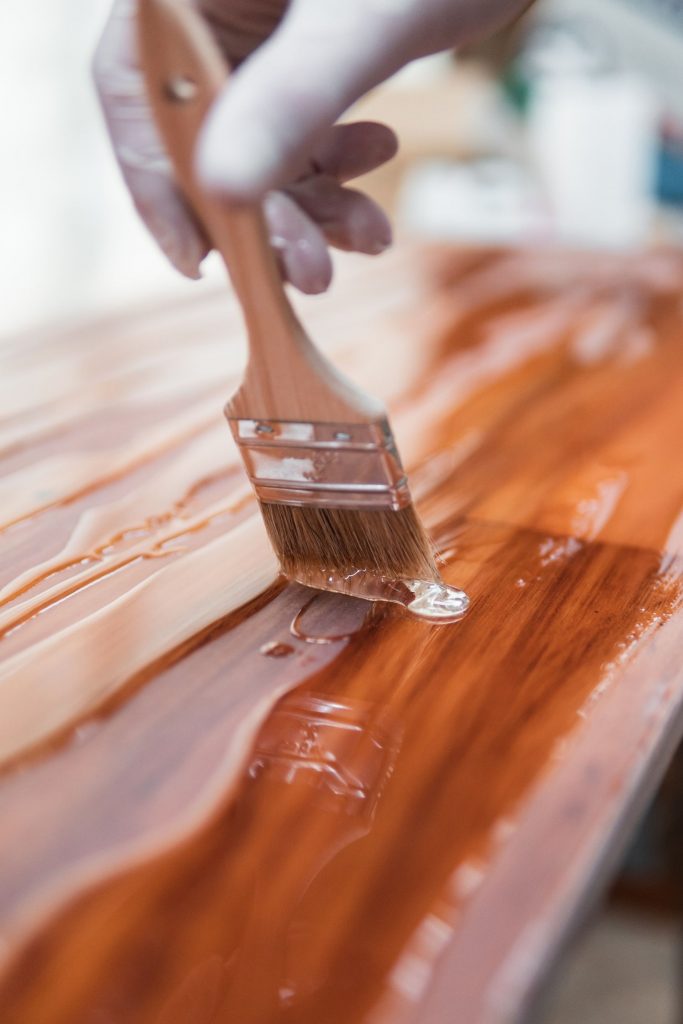
Once you have used Vaseline on the wood, it is time to apply paint. Load your paintbrush with enough paint to cover the entire surface of the wood. Paint it on evenly with long, careful brush strokes.
Step 3: Let it dry.
Next, you have to let it dry enough but not entirely. It should not feel wet to the touch. Do not let it dry out entirely either. You will have to wait less than an hour for the paint to dry just enough. However, note that timing can vary depending on the brand you use.
Step 4: Wipe off the excess
As the last step using a wet towel, go over the areas where you had applied Vaseline. Wipe off the upper layer of paint. The process is easy and will not take much time or energy. The best part is that you did not even have to sand!
Hold up!
Before you start working you need to know some tips and tricks. Take a look at some of the helpful tips when applying Vaseline:
Do not try to apply Vaseline evenly
The look you want for your wooden piece is a natural weathered look. Never once in nature can you find surfaces weathered in a flawless uniform pattern. So in your project, you should not strive for perfection either. The flaws are the highlights of the wood. So apply a thicker layer of Vaseline on some areas and a thinner layer on others. The imperfections will make the final result even more realistic and beautiful.
You do not have to follow the grain of the wood.
In instances where you want to achieve a smooth, uniform surface, you can follow the grain of the wood. However, in this project, you are working on getting an authentic distressed look. So you do not have to comply with this rule here.
Not following the wood grain will make your project look gorgeous.
How To Make Wood Look Old And Weathered Using Manual Techniques?
There are some manual techniques you can use to add character to your wooden piece.
- Use a wire brush. As you know, the weathered look on wood happens by wood breaking down over time. You can mimic this distressed effect by using a wire bristle brush on the surface. Seems easy enough, right? However, the bad news is that the process can take a lot of time and effort. It might take a day or more of hard scrubbing before the effects are noticeable.
- Use rocks and stones to distress the surface. Collect some small, irregularly shaped stones and pebbles. Then add them to the wooden surface and scrub it with your wire brush. Make sure to trap the stones between the tool before applying pressure. When the rocks drag against the wood, they will break down and look more weathered.
- Use a tool to etch the wood. You can use a woodworking knife, a screwdriver, or a chisel here. Using the tools, add minor cuts to give character to your wooden surface. Try to work on areas where a piece of furniture naturally experiences such damage. However, suppose the cuts you make turn out unnatural. If this happens to you, then use sandpaper to soften the sharp edges of your cuts. It will make them look more realistic. You can also use your wire-bristle brush to make your tool weathering look more natural.
Final Words
What do you think?
It is pretty easy to antique a piece of newer wood furniture, huh?
All you need is the knowledge and the tools. Through this article, you found out how to make new wood look old.
Who knew that you could effectively transform your pieces by using simple methods.?
The trick to making wood look realistically weathered is not to overdo it. Remember that the finish will not look natural if you attempt to create an overly distressed look. So make sure not to strive for an even smooth pattern. In this project, the imperfections are what make it look better. The flaws will give the piece that classic distressed look you want to achieve.
Other than that, do not forget that safety comes first. The stains and paint you are using can be harmful to your skin. So make sure to wear gloves and long-sleeved clothes when working. Besides, small pieces of stone or wood get into your eyes when working with tools. So, you should wear protective eyewear as well.
Also, make sure to carry out the project in a ventilated room. For example, choose an open area like a garage when working with chemicals. You are ready to give a luxury antique look to your wooden pieces. Now gather the supplies, take safety measures, follow the steps and get to work!

