Paint Cabinets Without Sanding! The Perfect Guide To Give A New Look To Your Kitchen Cabinets
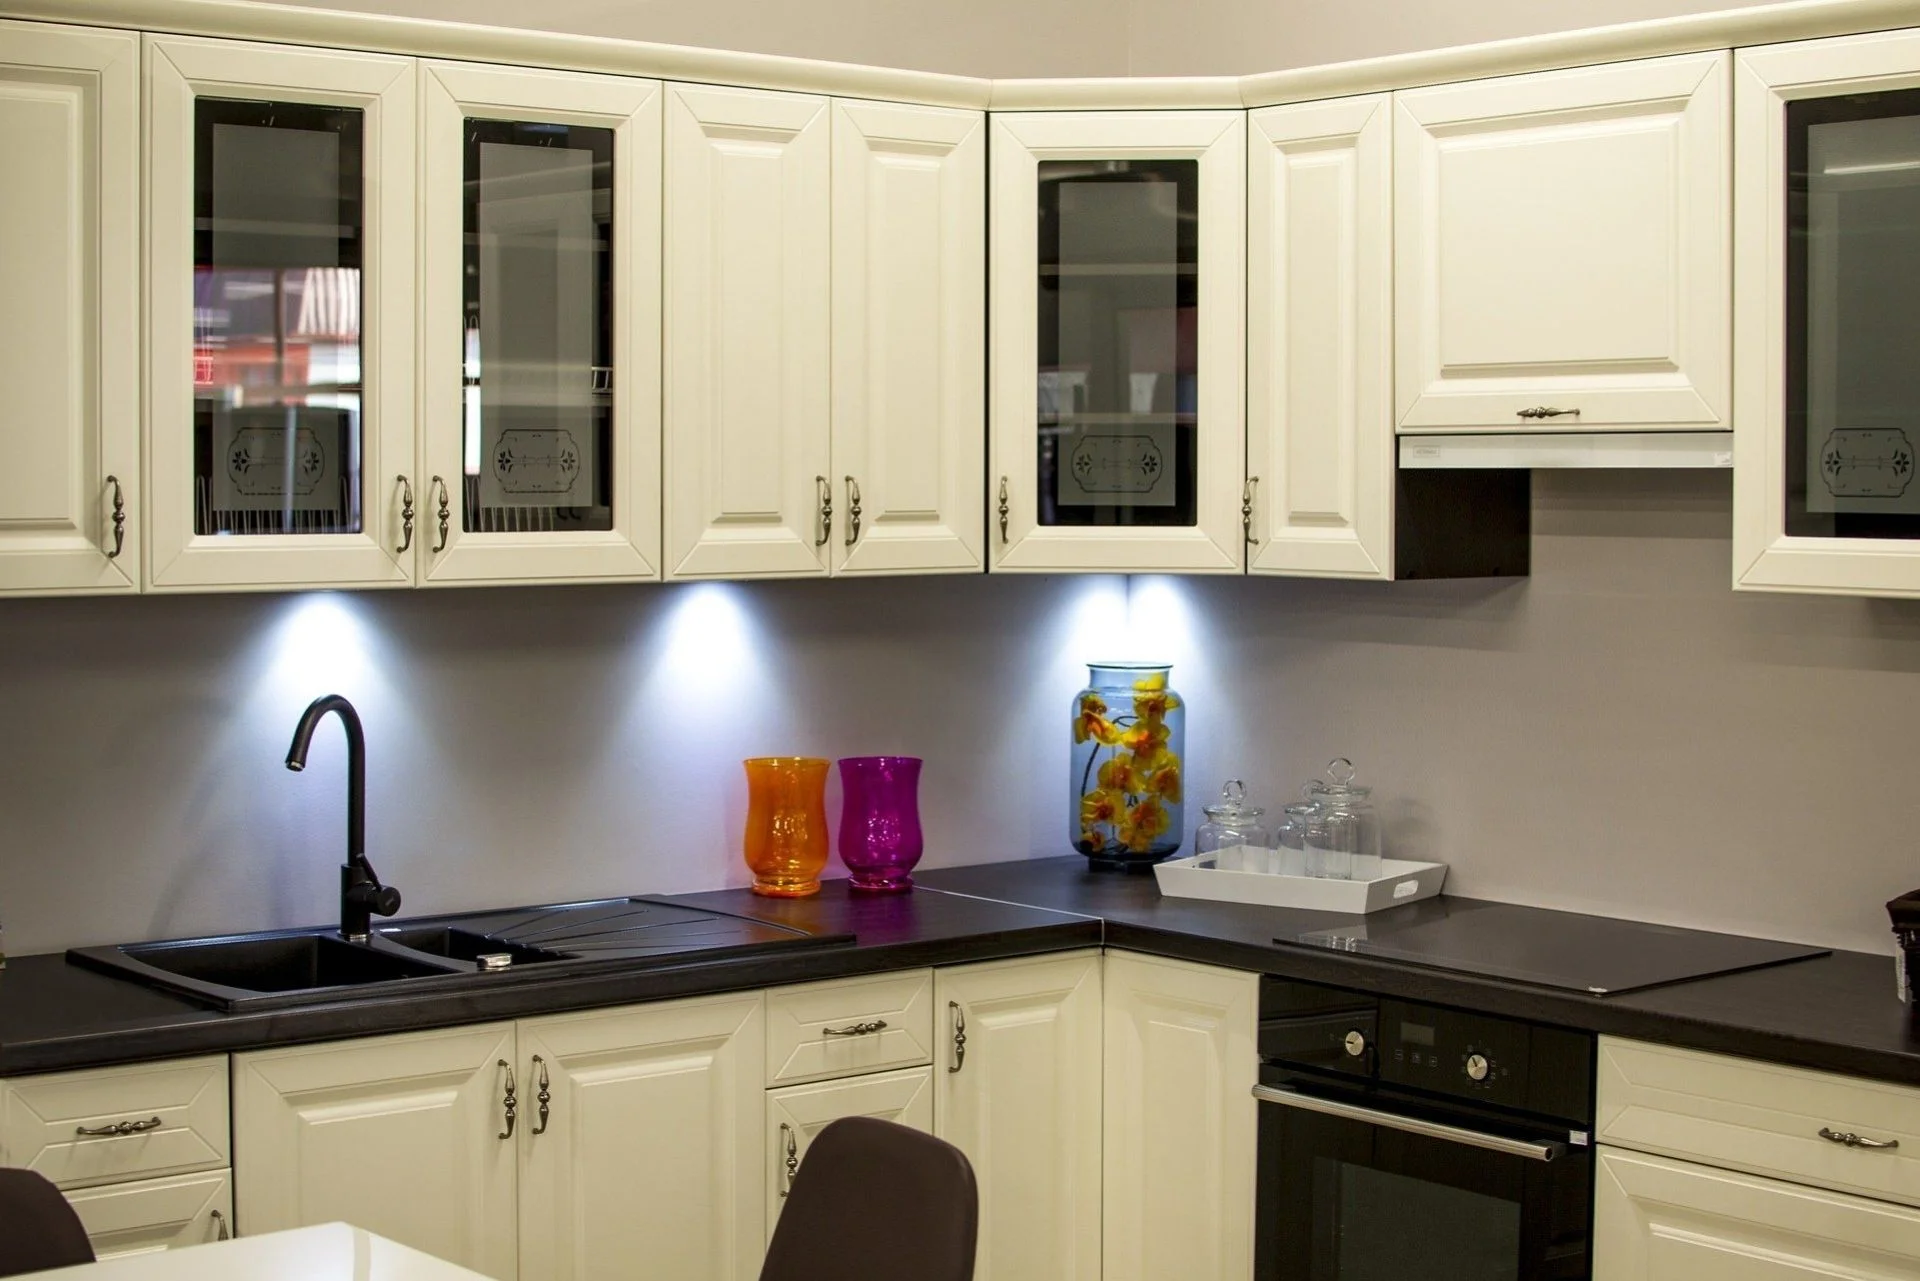
Looking around the kitchen, you think it is time to give a makeover to the cabinets. You might think of hiring a professional to paint the cabinets. It is a good choice but also might not be the best for your budget. So why not try it yourself. At first, painting your cabinets may seem like such a difficult task. However, that is not true. It can be easy peasy. You do not even have to sand. So how to paint your kitchen cabinets without sanding?
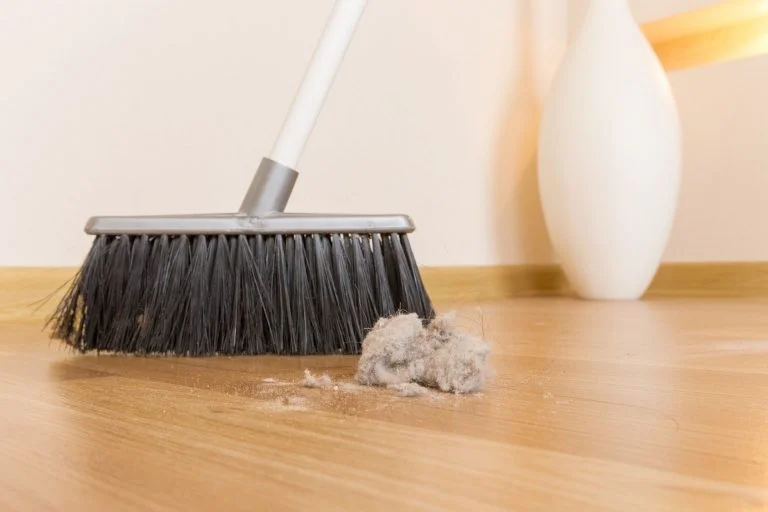
Sanding is a messy, time-consuming, and tiring process. No wonder everyone wants to skip sanding. So you would be happy to know that you do not have to sand.
Now that you can skip sanding, painting the cabinets sound easy enough.
So are you up to give it a shot? We promise that you could be just as good as an expert at painting if you follow this guide. It is a fantastic project to give a fresh look to their kitchen cabinets quickly. It also saves a lot of money if you paint them yourself. You only need the right products, proper technique, and your creativity. You can go all out and choose your favorite colors for your cabinets. So if you wish to learn how to paint kitchen cabinets, keep reading.
How to paint kitchen cabinets without sanding?
Step 1:Removing the Cabinet Doors and Drawers
Your first step is to pull out the drawers from the cabinets. Clear out the drawers first and place them in an easily accessible area. You may need to lift them slightly to remove them from the tracks inside of the drawer unit.
If your cabinet drawers do not come out of the frame, then leave them in the frame. You can paint them when you paint the frame.
Next, take out the hinges and hardware from the doors and drawers. Unscrew the doors from the hinges. Then categorize those by location and size. Flip the doors on their back and unscrew the hardware. Then place all of the pulls, handles, and screws aside if you plan to reuse them. You can use a drill for this procedure.
If you cannot find a drill, you can use a screwdriver instead to remove the hinges and hardware. It might be a bit more time-consuming, but it is much cheaper than buying a drill. Do you have special hardware for your cabinets? It would be best to put the hinges and handles into a labeled bag in that case. For example, say you have a corner cabinet that has a different pull. So what you have to do is mark the bag “corner” and put the handle and hinges into the bag.
Remove everything from the cabinets and pull out the shelves. You can keep all the items from the cabinets in boxes or bags labeled with their location. Then, pull out the shelves of the cabinets and prepare to paint them to match.
If you do not have brackets holding up your shelves, you probably cannot remove them. In that case, you will have to paint the shelves when you paint the frame.
Step 2: Cleaning the Cabinets
Before you paint, the cabinets and frames must be squeaky clean. So pick a degreasing cleaner of your choice. Then, by using a scrubbing sponge, scrub the cabinet doors, shelves, and drawers to clean them well. That way, you can remove any leftover dirt or grime from the surfaces.
Make sure not to scrub in one section for too long because it can scratch the wood. That can then cause a dull spot when you apply paint over it. In that case, do not scrub too roughly in a way that can damage the surface.
Then rinse off everything with a wet cloth. You can dip a clean towel in water for this. There is no need to use soap; just use fresh water and clean off the frames, doors, and drawers. Also, make sure to get harder-to-reach places like corners and the undersides of the cabinets to rinse off any degreaser. Then, let them dry. You will have to let them dry for at least 1 hour for the water to dry.
If you cannot wait that long, here is a trick you can use. To speed up the drying process, position a fan to blow directly on the cabinets.
Once the cabinets are dry, you can move on to de-glossing. This step is essential because we are skipping sanding. You can buy a liquid deglosser from the hardware or home improvement store. Now, take your cabinets and drawers outside or to a well-ventilated area. Never apply the deglosser indoors. Why not, you may ask?
That is because deglosser is very potent and harmful if you inhale the fumes. Safety comes first, so carry the cabinets and move outside.
Speaking of safety precautions, you cannot forget gloves. So wear a pair of work gloves. Then, add a quarter-sized amount of deglosser to a clean towel and apply the deglosser on all of the cabinets. Remember to use it on the outer surface of the drawers too.
You do not need to apply the deglosser to the frames. That is because they tend to be cleaner and have less varnish compared to the door fronts.
Let the deglosser dry for 30 minutes. You do not have to wipe it off the doors but leave it to dry for half an hour. You can set a timer for exactly 30 minutes after you finish applying the deglosser.
Remember not to touch the deglosser with your hands to see if it is dry. A better way is to rely on the timer to tell you when it is ready for primer.
Step 3: Prime and Paint
Now it is time to prime. It is crucial to prime the de-glossed components within an hour after the deglosser is dry. Otherwise, the primer will not stick to the drawers and doors, making the paint peel. Paint a coat of primer on the doors and drawers where you applied the deglosser. You can use a medium bristle brush for this. Once you finish priming the doors and drawers, apply a layer to the frames while the primer dries.
Wait for 30 minutes, and then turn the doors over to prime the backs. Once the fronts of the doorways are dry, apply a layer of primer to the backs of the drawers. After that, let the primer on both sides dry for 2 hours.
Remember to have the doors and drawers primed within 1 hour after the deglosser dries.
Then add a coat of cabinet enamel to the backs of the cabinets. As the back surfaces of the cabinets tend to be flat with few cracks, use a roller for painting. After that, gently go over the paint coat using a fine brush to avoid any bubbles from appearing. Then you have to let the paint dry for at least 4 hours. Once they are dry, you can flip them over and paint the fronts.
You do not have to paint the interior parts of the drawers because they will have items inside them. Instead, paint the sides, as they will be visible when you pull the drawers out.
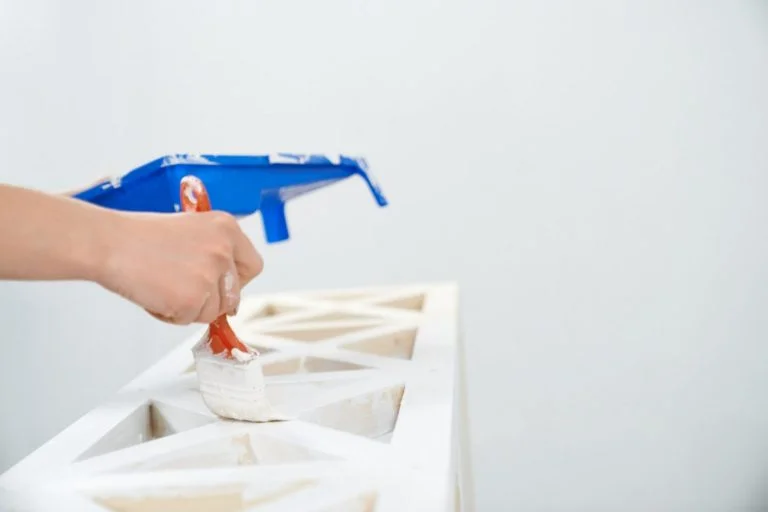
If the front of your cabinets has molded, you can use a fine bristle brush to paint. Some cabinets have designs on the front of the doors. That kind of cabinet can be tricky to paint with a roller. If your cabinets have intricate designs and molding, a smaller paintbrush is a better choice. Opt for a fine bristle brush. Use the brush’s bristles to coat finer details with a layer of paint.
Once you have painted the molding, apply an even coat all over the flat surfaces. Then, go back over the paint using a fine bristle brush. Try and remove any air bubbles and even out the thicker areas you colored.
It would be best to keep cabinets in a well-ventilated area when painting them and while they dry. That way, you can speed up the process as much as possible.
Then, move into the kitchen and coat the frames with the first layer of cabinet enamel. You can use a roller for this process. As you complete each part, go back over the paint with a fine bristle brush. Try and remove air bubbles and even out the color. Make sure not to miss the tight corners while painting.
It is easier to work in sections while painting the frames. That is because it tends to be a larger area. You can roll a selected small portion and go over the surface with the fine bristle brush.
Then you will have to wait for at least 4 hours till the paint dry. Once they are dry, add a second layer of paint to the cabinets. That way, you can get a brighter color and more coverage.
Now it is done. Let the paint dry completely. You will have to let the painted surfaces set for at least a day. Once the time is up, you can put the hardware back on the doors and drawers. Remember not to put hardware on too early. If you do, it can easily scratch the paint.
When reattaching the hardware, use a screwdriver. That way, you will not accidentally tighten the hardware and cause a dent or chip in the paint.
Rehang the cabinet doors and replace the drawers. Get the hinges and position the components where they are supposed to go. Make sure to test the doors and drawers to make sure they open and close smoothly.
An additional tip would be to wash your brushes. You may want to keep them clean and in good condition. So wash them using water and soap. It is not that hard to clean up the brushes!
How to paint veneer or laminate kitchen cabinets without sanding?
Laminate and veneer are pretty similar. Still, you can notice a few differences between the two as well.
Laminate has a thin layer of printed plastic attached to a plywood or particle-board substrate. Typically, the plastic is printed with a wood pattern to mimic the actual wood. However, it comes in many different colors and designs as well.
On the other hand, the veneer is slightly different from laminate. Veneered wood uses a similar concept to laminate, but it does not use plastic. Instead of a plastic layer, it has a thin layer of actual wood on top of the plywood. That layer is called a veneer.
Now you understand the similarities and differences between the two surfaces. Now it is time to learn how to paint it.
First of all, check if your laminate or veneer cabinets ain good condition. If they are peeling or buckling, then there is no point in painting them. Once you make sure they are in good condition, clean your cabinets well. As you know, kitchen cabinets collect all sorts of greasy grime. This dirt will prevent even the best paint from sticking. So you have to clean the surfaces properly using a degreaser. You can spray it on and wipe it off with a damp towel. Make sure to reach all the cracks between furniture as well.
When it comes to shiny surfaces like laminate or veneer, you have to remember one crucial step. That is to de-gloss the surface. If not, the paint will never stick properly to the surface.
When you choose a primer to paint laminate, make sure it says for shiny surfaces. The primer and allow it to dry. It would be best to let the primer dry for a full seven days. After that, you can put on the actual paint. You see, paint takes longer to cure than you realize.
Then use a good paint brush or roller and start with a light coat of paint. You may notice the color looks splotchy or watery with the first coat on smooth surfaces. Do not worry; apply 2-3 more coats. It will give you an even and complete coverage. Remember to let the paint dry between coats.
Lastly, seal with poly or wax for a protective finish. It protects against dings and scuffs and has a lovely satin finish.
Let your work dry for at least a day. Once they are dry, you can go ahead and reattach the hinges and pulls. Reattach the doors to the proper cabinets as well. Here is a quick tip: Leave them open for another day or so when you reattach the cabinet doors. That way, you can let the paint finish curing.
Best Paint For Cabinets Without Sanding
Now you have to see which type of paint suits your cabinets. Oil-based or latex paint.
Oil-based paints are the best if you want a resilient and smooth finish. They make a surface easy to clean. It also works well on most surfaces. However, oil-based paints have some flaws. For example, oil-based paint takes a long time to dry in between coats. Also, surfaces painted with oil-based paint can have a yellow tint over time. The yellow tint can make your cabinets look dingy, which is not a good look.
Other than that, the biggest flaw Oil-based paints have is the toxicity levels. Oil-based paints release VOCs, also known as volatile organic compounds, more significantly than other paint options.
So what is so bad about VOCs? Well, high levels of VOCs can cause eye, nose, throat irritation, dizziness, shortness of breath, headaches, and other long-term health effects. So, using paint high in VOCs in the kitchen, near food, and eating utensils can be dangerous.
On the other hand, latex paint is water-based. It is mainly known as the best choice for most kitchen cabinets. That is because it offers lower VOC levels. Also, latex paint does not take much time to dry.
Nowadays, due to advancements, it is much easier to use latex paint for kitchen cabinets. You can find latex paints with outstanding durability for cleaning. It can stand up to a good scrubbing.
Suppose you want to paint wood cabinets with latex paint. Then you have to prep the surface properly before using latex paint. Otherwise, latex paint may not go on smoothly over wood surfaces. Unlike oil-based paint, latex paint tends to show variances in the grain or texture.
If you want to paint MDF Cabinets, use an oil-based primer for the first coat. After that, paint the kitchen cabinets with water-based latex paint. That way, you can avoid excess moisture absorption.
On the other hand, if you want to paint laminate, use a laminate-specific primer and paint. Choose products that can stick to the shiny surface of the laminate properly.
Semi-gloss paint is the best choice when painting kitchen cabinets. It will help reflect light and be more durable in the long run. As you know, durability is essential in a kitchen environment. You can also clean and scrub semi-gloss paint. It has excellent resiliency to being scrubbed clean, which is fantastic for the kitchen.
Best Semi-Gloss paint: BEHR BEHR Premium Interior Cabinet & Trim Enamel at Home Depot
A durable semi-gloss finish resists dirt, grime, and mildew. This water-based product provides a durable finish. It can resist dirt, grime, and mildew. Also, the paint dries quickly, allowing you to recoat in just two hours.
Best chalk paint: BEHR Chalk Decorative Paint at Home Depot
Chalk paint does not need sanding before painting. So you can apply this water-based chalk paint to almost any surface without a primer. However, if you use this matte paint on kitchen cabinets, you will want to seal it. You can either use wax or water-based sealers to protect and improve its durability.
Best White Paint: Valspar 4000 Semi-Gloss Enamel Tintable Interior Paint
If you want to paint the cabinets white, this product is the best choice for you. The formula perfectly hides imperfections and limits fingerprints from showing. It guarantees a uniform finish as well.
Now, how about the steps you need to follow to paint the cabinets white? Scroll through to find out.
How To Paint Kitchen Cabinets White Without Sanding?
What if you are painting the cabinets white? Does the painting process change in that case? Actually, no. You can take the same steps we mentioned above.
However, suppose you want to paint very dark cabinets a white or a lighter color. If that is the case, you will have to add more layers of paint. Check if the dark color shows through the lighter shade of paint. It is better to apply a few more coats of paint until the darker color disappears completely. Make sure to give time for the paint to dry between coats.
How To Paint Oak Cabinets Without Sanding?
Of course, oak cabinets are excellent, but the grain will show through unless you are careful. It is essential to know that painting oak kitchen cabinets will require more work than other materials. We will walk you through some tips you can follow to paint your oak cabinets without sanding.
You first need to apply the de glosser. It is a great substitute to replace sanding. A de- glosser will rough up the and also clean the surface well.
Also, remember to brush on the first coat of primer. Do not spray on the first coat. If you spray the paint, it only sits on top of the surface. It does not get into the deep grainy areas. That way, you will not be able to achieve a smooth finish. When you brush on the first layer, it will push the primer into the grain. However, after the first coat, you can spray all of the other layers.
When it comes to primer, It would be best to choose an oil-based one. Oil-based primers are especially good at adhering to oak cabinets versus water-based primers.
Also, when choosing a finish, remember that the higher the sheen, the more the grain pattern will be visible.
Semi-gloss and gloss paints can reflect more light. This effect will highlight the design of the grain. Usually, semi-gloss is the most suitable for kitchen cabinets. However, when it comes to oak, you can use a satin sheen to minimize the prominence of the grain.
How Can You Get A Smooth Finish When Painting Kitchen Cabinets?
You may want to pick up a brush and start painting right away. However, a little more goes into how to paint kitchen cabinets. You have to learn the tips and tricks, especially if you are trying to achieve a beautiful smooth finish.
You might be a newbie when it comes to panning cabinets. However, if you follow these tips, you will be able to paint like an expert. More importantly, you would get the smooth VCO levels and clean finish that professionals achieve.
You can get the art of painting with the help of these tips and tricks.
- First of all, remember that no primer will work if you do not clean your cabinets correctly first! So clean the surface well.
- When you are painting, make sure to use thin coats. It will limit the number of drips, pooling that can happen while painting. It can also help give the cabinets a smooth look.
- Oil-based primer provides the best bond and covers wood grain better than latex primer. So if you want a primer that can work with any kitchen cabinet, then an oil-based primer is the best choice. However, in some places, oil-based primer is banned from being used because of the high VOCs.
- Tint your primer to the finish paint color if you want to paint dark cabinets a lighter color. That way, you can achieve better coverage and fewer coats of paint.
- Use premium, high-quality paint and products for your project—the better the supplies, the better the outcome. You are putting your effort into painting your kitchen cabinets. So, you want to make sure to perfect each step.
- Try to stick with a semi-gloss or high gloss paint for the kitchen cabinet paint. Such paint finishes work best for kitchen cabinets because they have a hard finish. They are more long-lasting too. Also, they are easy to clean, which is excellent for kitchen cabinets.
- When you paint, remember to paint in the direction of the wood grain. It will limit the brush strokes.
- Another tip is patience. Yes, it does not sound so innovative. However, it is a classic newbie mistake not to wait till the first coat dry before reapplying. You have to let the first layer of paint dry for 24 hours, minimum. Then you can flip everything over and repeat the same process on the other side. So if you want to paint like an expert, you have to practice patience too.
- Now, when it comes to painting a second coat, you will again need a previous tip you learned. Can you guess? Well, it is patience again. Allow this second layer of paint to dry for 24-48 hours.
Some may wonder why bother using thin coats of paint and wait in between until they dry? Why not use one thick layer and call it a day? Well, no, that would not work. That way, you will never achieve the super smooth finish you want. It would be best if you had a second coat of paint for a smooth, high-quality finish.
Remember that two thin layers of color will have better coverage and an even finish than one thick coat.
Painting cabinets is a long process. However, if you want your cabinets to look great and last, follow the proper steps. So take your time and paint your cabinets the correct way to get the best results.
Final Thoughts
Look at that. Now you know how to paint cabinets without sanding like a pro. Now, it was not as difficult as you thought, wasn’t?
All you need is to find the right supplies and follow the techniques you learned. Painting kitchen cabinets can be overwhelming, but now you know how to make it easier. The process becomes a lot less overwhelming when you drop the sanding step.. Painting your cabinets is a fantastic idea to add a new personality to the kitchen. More importantly, it is a way to maintain and improve their durability.
Also, if you do the work all by yourself, it will mean so much more. It also saves a lot of money you would spend on professionals. So why miss out on a chance to get creative? This project is the perfect opportunity to beautify the tired-looking cabinets in your kitchen. Now you can get the supplies and get ready to give the kitchen a makeover!

